Install a wall-mounted cabinet
Assembly difficulty: ★★★★★

Estimated time for a washbasin: 1 hour 30 minutes
Estimated time for two washbasins: 2 hours 30 minutes

2 People
Check that the wall can support the weight of the unit (avoid walls that are too fragile). A wall-mounted unit must be secured to a load-bearing or reinforced wall.
Follow these steps

Assemble the furniture
To do this, follow the detailed steps in the instructions included in the box.
Mark the drilling areas
- Carefully place the basin in the desired installation location to identify the area where the waste trap will be drilled. Mark the hole to be drilled with a wooden pencil.
- Carefully remove the basin.
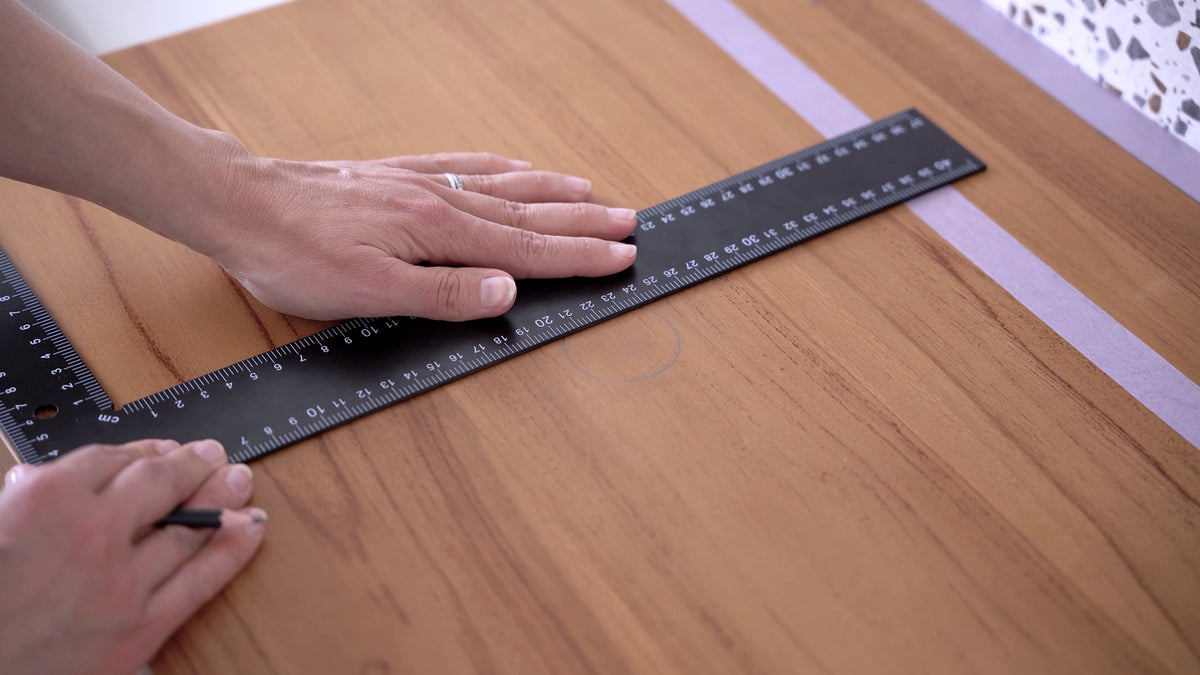
- Place the set square at the front of the cabinet and draw a straight line crossing the first mark. Do the same on the side to create a cross at the centre of the mark.
- If you plan to install the mixer tap on your cabinet, do the same to identify the area where the tap will be drilled. We recommend leaving 5 cm between the mixer tap and the edge of the cabinet.
Perform the drilling.
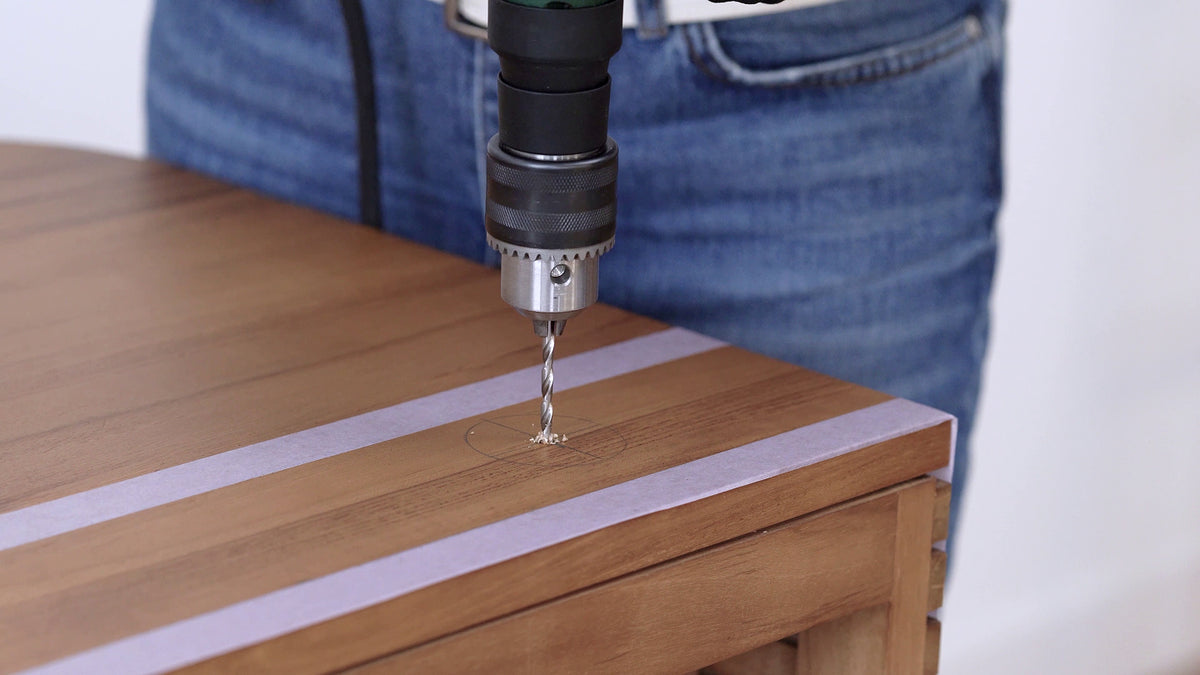
- Carefully remove the basin before drilling.
- Prepare the hole saw with a 45 mm diameter bit to drill the siphon hole, and a 35 mm diameter bit for the tap hole.
- Position the hole saw bit at a 90° angle to the cross to drill a straight hole.
Determine the furniture’s location
- Measure the height of the washbasin. For comfortable use, there is generally about 80 to 90 cm between the floor and the top of the washbasin. Use a spirit level (or laser level) to draw a horizontal line with a pencil, corresponding to the desired height of the unit.
- Then measure the height between the unit’s mounting bracket and the top of the unit where the washbasin will be placed. Draw a horizontal line with a pencil corresponding to the unit’s mounting height.
- Finally, measure the distance between the two mounting points at the back of the unit. Transfer this measurement to the wall to mark the drilling points, adjusting them according to the drains and water supply connections.
Suspend the cabinet
- Drill holes at the marked locations, using a drill bit suitable for your type of wall (concrete or plasterboard).
- Secure part B to the wall using 2 wall plugs suitable for the mounting brackets. Tighten the screws with a screwdriver, but do not overtighten to avoid damaging the wall.
- With the help of a second person, hang the cabinet on the wall mount.
Secure the washbasin and faucets
- On a flat, protected surface, turn the washbasin over.
- Apply a bead of transparent polymer sealant all around the washbasin. This will be used to bond the washbasin and will also act as a watertight seal between the cabinet and your washbasin.
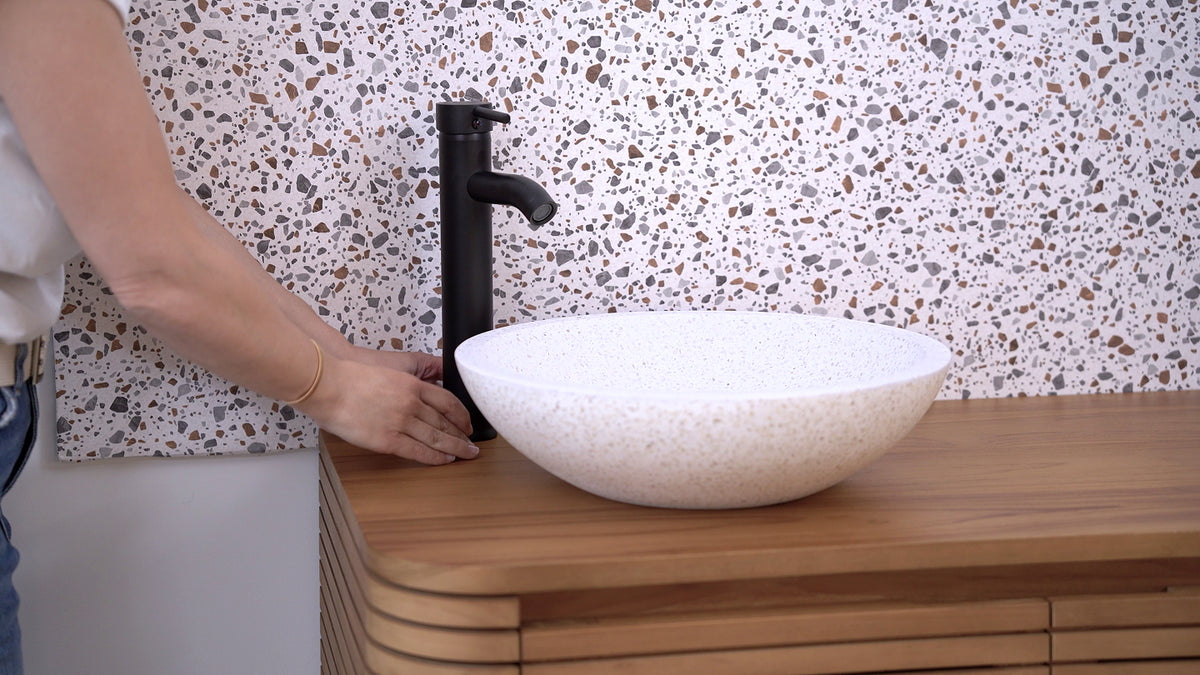
- Then turn the washbasin over and carefully place it on the cabinet, using the siphon hole as a guide.
- Apply light pressure points all around. If the sealant has overflowed, spray soapy water and smooth the sealant with your finger or a rigid plastic card. If necessary, redo the seal neatly. Avoid any contact with water or moisture while it dries.
- Repeat these steps to install your mixer tap.
Install the furniture
- Place the unit in the desired location, then secure it to the wall according to the instructions in the manual.
- Make sure to choose wall plugs suitable for your type of wall (concrete, plasterboard, brick, etc.) to ensure a strong and durable attachment. For a concrete wall, opt for expansion anchors or chemical anchors. For a plasterboard wall, use plugs specifically designed for plasterboard (such as Molly bolts or self-drilling anchors). For a brick wall, universal wall plugs or hammer-in wall plugs will do the job. For a cinder block wall, expansion anchors or hammer-in wall plugs are recommended.
Let's check together
Let's take a moment to carry out a few checks.
- The spirit level shows that the unit is perfectly level
- The unit does not move or tilt
- The silicone joints have been applied evenly, without any defects.
- The drying time for the joints has been respected
If, despite these checks, a problem persists, our Customer Satisfaction team is here for you.