Install a freestanding unit

Assembly difficulty: ★★★☆☆

Estimated time: 1 to 2 hours
1 Person
Follow these steps

Assemble the furniture
To do this, follow the detailed steps in the instructions included in the box.
Mark the drilling areas
- Carefully place the basin in the desired installation location to identify the area where the siphon hole will be drilled. Mark the hole location with a carpenter’s pencil.
- Carefully remove the basin.
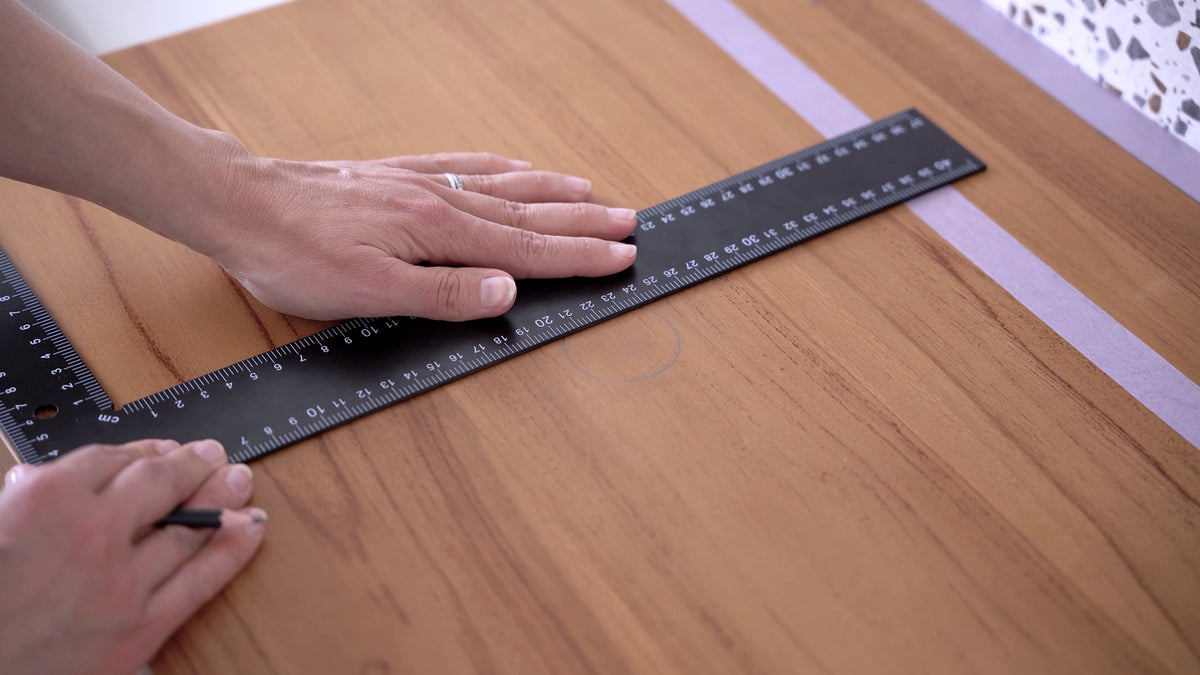
- Place the set square at the front of the cabinet and draw a straight line through the first mark. Do the same on the side to create a cross at the centre of the mark.
- If you plan to install the mixer tap on your cabinet, do the same to identify where the tap hole will be drilled. We recommend leaving 5 cm between the mixer tap and the edge of the cabinet.
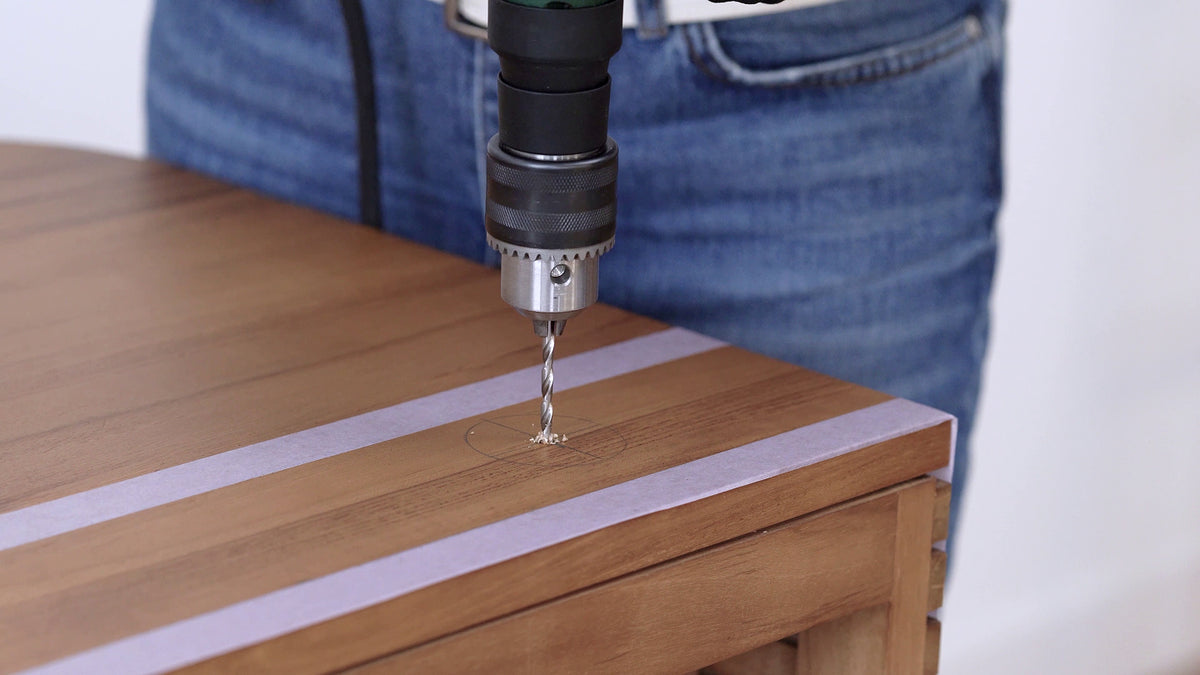
Drill the holes
- Carefully remove the basin before drilling.
- Prepare the hole saw with a 45 mm diameter bit to drill the siphon hole, and a 35 mm diameter bit for the tap hole.
- Position the hole saw bit at a 90° angle to the cross to drill a straight hole.
Secure the washbasin and taps
- On a flat, protected surface, turn the basin upside down.
- Apply a bead of clear polymer sealant all around the basin. This will be used to bond the basin and will also act as a watertight seal between the cabinet and your basin.
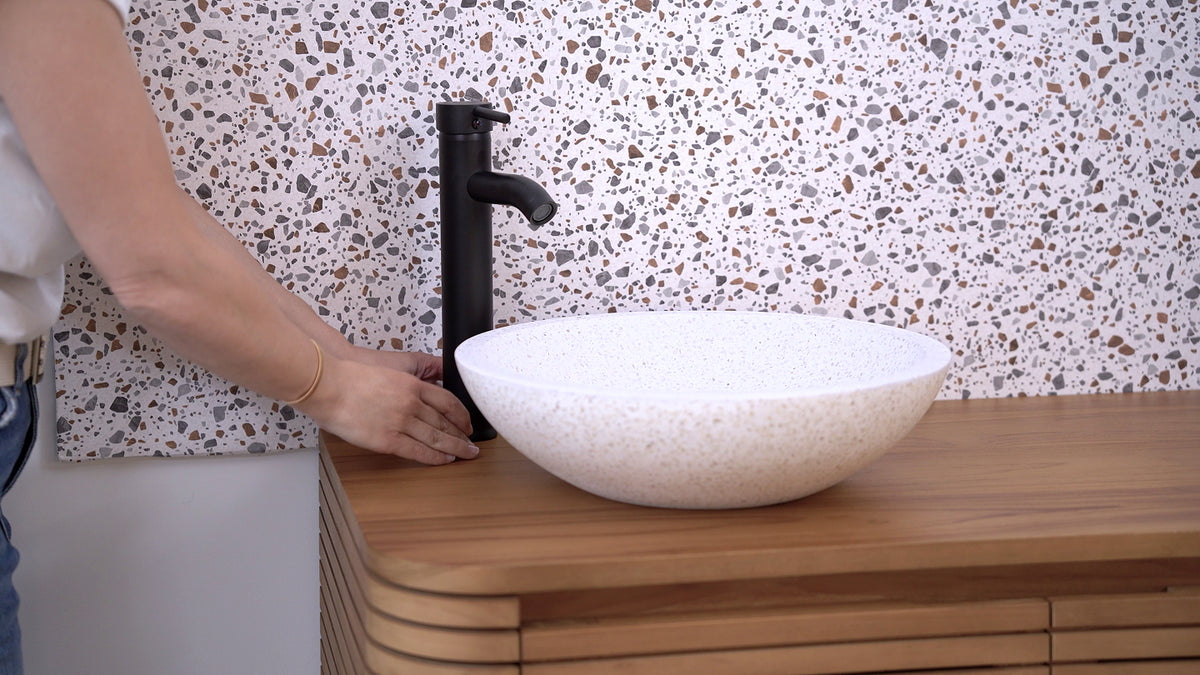
- Then turn the basin over and carefully place it on the cabinet, using the siphon hole as a guide.
- Apply light pressure all around. If the sealant has overflowed, spray it with soapy water and smooth the sealant using your finger or a rigid plastic card. If necessary, redo the seal neatly. Avoid any contact with water or moisture while it dries.
- Repeat these steps to install your mixer tap.
Good to know
- Please note that silicone generally begins to set after 15 to 30 minutes. During this period, it is essential to avoid any contact with the basin or the seal to prevent compromising its adhesion.
- After 2 to 4 hours, the seal is sufficiently dry to allow slight handling, but it remains fragile. You can then carefully check the alignment of the basin, taking care not to apply excessive pressure.
- For a strong fixing and optimal watertightness, it is recommended to wait 24 hours before using the basin or carrying out more thorough stability tests.

Install the furniture
- Place the furniture in the desired location, then secure it to the wall according to the instructions in the manual.
- Make sure to choose wall plugs suitable for your wall type (concrete, plasterboard, brick, etc.) to ensure a strong and durable installation. For a concrete wall, choose expansion wall plugs. For a plasterboard wall, use plugs specifically designed for plasterboard (such as Molly plugs or self-drilling plugs). For a brick wall, universal wall plugs or hammer-in wall plugs will do the job. For a breeze-block wall, expansion wall plugs or hammer-in wall plugs are recommended.
- You can then connect the water supply and drainage pipes.
Let's check together
Let's take a moment to run through a few checks.
- The basin does not move; it is stable on the vanity unit.
- The vanity unit is secure.
- The seals are smooth and even.
- The seals go all the way around the basin.
- The seals have dried for the recommended amount of time.
If, despite these checks, a problem persists, our Customer Satisfaction Team is here for you.